
Brewery Grenade Callouts in CS2
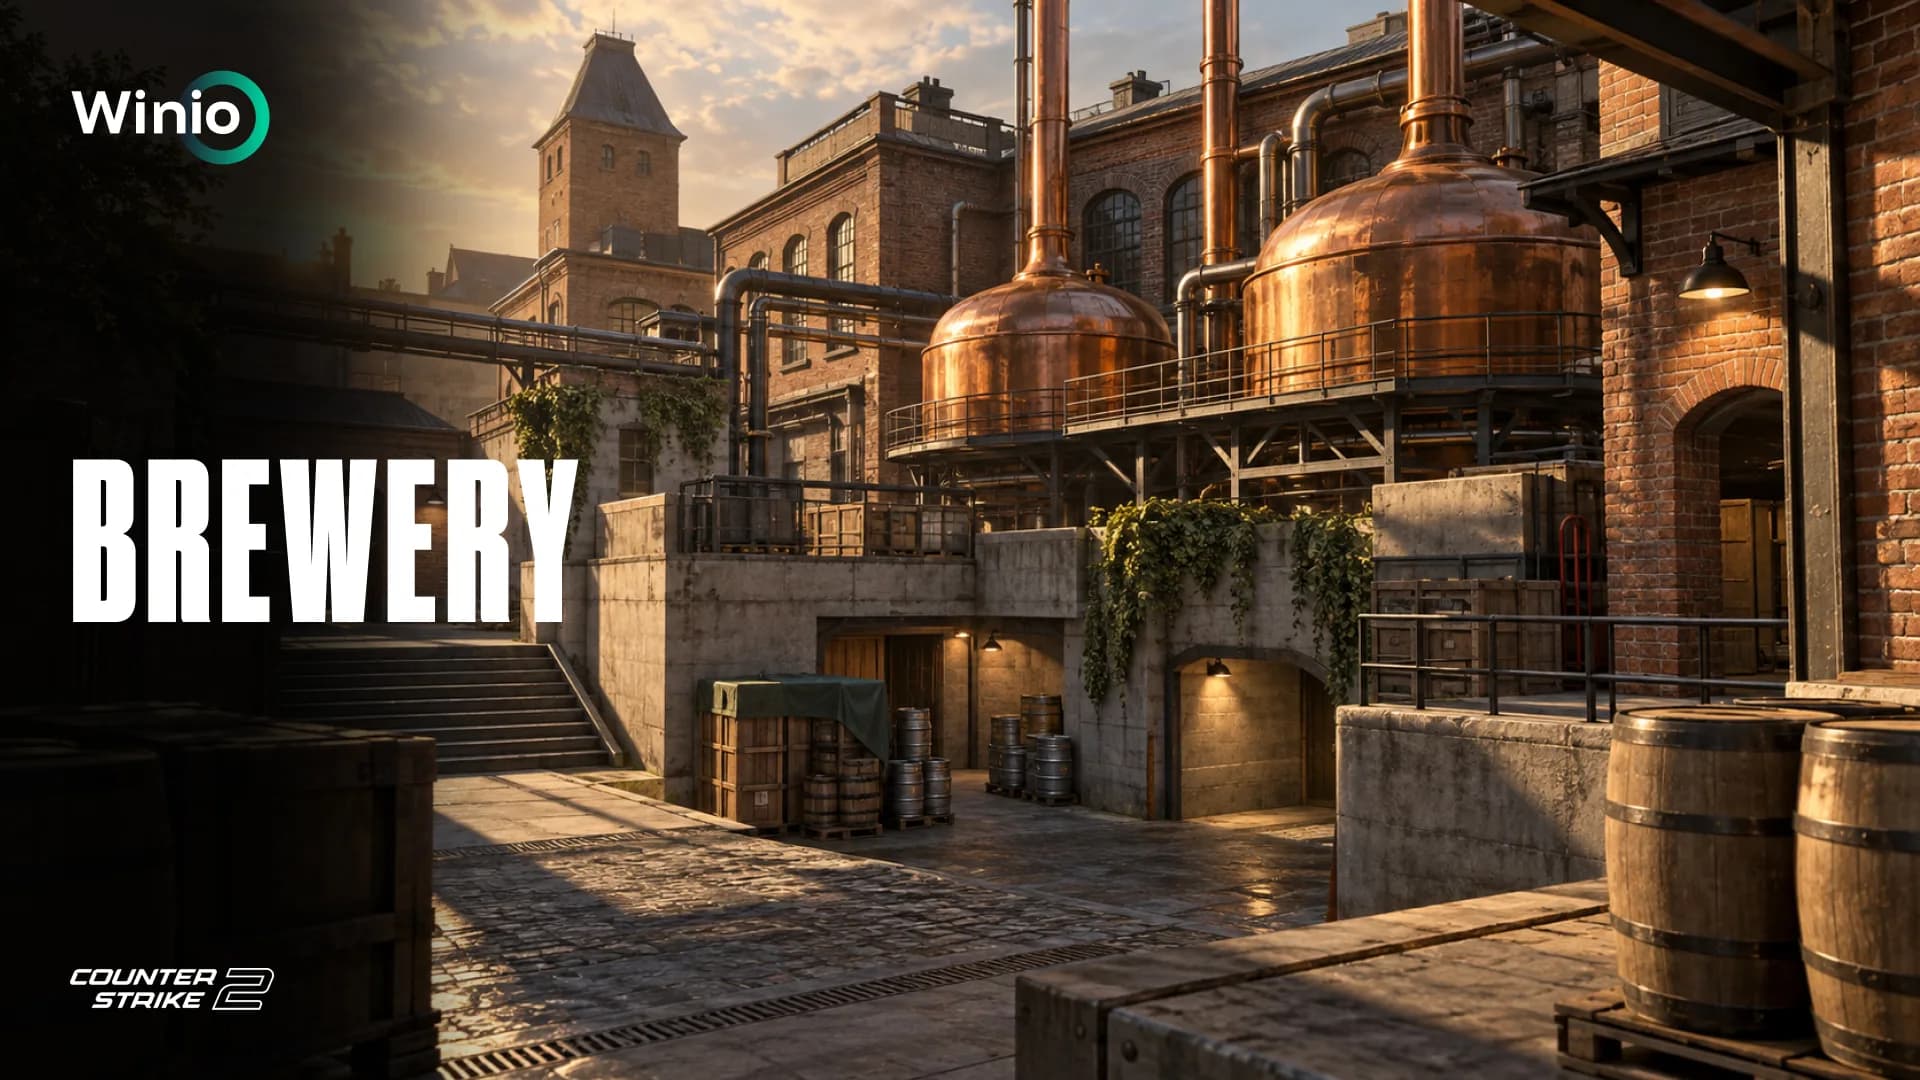
One well-placed grenade can remove half of the defense on Brewery.
The map was designed for the 2v2 Wingman format, so every early mistake has an immediate impact. A smoke blocking a platform or a perfectly timed flash can isolate one defender and allow the Terrorists to take a two-versus-one fight.
This guide covers the most useful types of Brewery lineups, important positions, utility strategies for both sides and the commands needed to practice every throw.
What Is Brewery in CS2?
Brewery, also known as de_brewery, is a community-created Wingman map by Vaya, JimWood and Oliver.
The action takes place inside the Oliver James & Sons Brewing Company. According to the Workshop description, two illegal moonshiners plan to use C4 to destroy the brewery and expand their market share.
Valve added Brewery to the official Wingman rotation on May 7, 2025, alongside Dogtown.
Brewery, Dogtown, Jura and Grail were removed from all official game modes on October 1, 2025, when Valve introduced another group of community maps.
Who wins?
All MatchesFree Today NODWIN Clutch Series #12
Tomorrow 11:00
 SPARTABAKS
 Free for everyone · factor breakdown
Prediction: SPARTA
71%29%NODWIN Clutch Series #12
Today 11:00
 BRUTEG2 Ares

The map remains available through the Steam Workshop, allowing players to explore it in private matches and on compatible community servers. The Workshop page lists Vaya, JimWood and Oliver as the creators of the CS2 version.
Community maps can receive geometry, collision and texture updates. Test every saved lineup after downloading a newer version of Brewery.
How Brewery Plays
Brewery combines narrow indoor routes, open industrial rooms and several levels of elevation.
Most rounds develop around the single bombsite in the center of the complex. Players can approach through different sections of the brewery while defenders use stairs, balconies, platforms and the lower level to create overlapping sightlines.
The map’s main characteristics include:
- One bombsite
- A 2v2 format
- Short rotations
- Multiple levels of elevation
- Numerous close corners
- Narrow entrances
- Elevated defensive positions
- Fast changes of direction
- Strong post-plant utility
Because the layout is compact, not every useful grenade requires a complicated long-distance lineup. Wall bounces, pop flashes and simple smokes that block an entire doorway are often more valuable.
Essential Brewery Callouts
Brewery does not have a standardized callout system comparable to Mirage, Inferno or Dust II.
Position names can vary between players and regions. Before beginning a private match, agree on a simple set of terms with your teammate.
Useful Brewery callouts can include:
- T Spawn
- CT Spawn
- Site
- Default
- Main
- Long
- Tunnel
- Connector
- Balcony
- Platform
- Lower
- Pit
- Stairs
- Barrels
- Cellar
- Brewing Hall
- Yard
- Close
- Back Site
The exact names are less important than consistency. A call such as “one above” is too vague when the opponent could be on Balcony, Platform or the upper stairs.
Why Utility Matters So Much in Wingman
A standard competitive team can dedicate several grenades to taking one area. A Wingman team has only two players and two inventories.
Every grenade must solve a specific problem.
Utility on Brewery can be used to:
- Isolate one defender
- Block an elevated position
- Cross an exposed section of the site
- Force an opponent out of cover
- Stop a fast entry
- Hide the bomb plant
- Delay a retake
- Interrupt the defuse
- Create a safe two-player entry
Learning four reliable grenades and understanding their purpose is more useful than memorizing dozens of difficult throws without knowing what should happen next.
How to Practice Brewery Lineups
Subscribe to Brewery in the Steam Workshop and launch the map in a private practice session.
The following console commands make grenade practice easier:
- sv_cheats 1
- bot_kick
- mp_warmup_end
- mp_freezetime 0
- mp_roundtime_defuse 60
- mp_buy_anywhere 1
- mp_buytime 9999
- sv_infinite_ammo 1
- ammo_grenade_limit_total 5
- sv_grenade_trajectory_prac_pipreview 1
- sv_rethrow_last_grenade
sv_grenade_trajectory_prac_pipreview 1 displays a preview of the grenade’s trajectory and landing position.
sv_rethrow_last_grenade repeats the most recent throw. You can move toward the target position and see the effect from the defender’s perspective.
Record five details for every lineup:
- The exact starting position.
- The crosshair reference.
- The type of throw.
- The grenade’s landing position.
- The action that follows the throw.
Pay attention to the throwing method. A standing throw, running throw and jumpthrow can produce completely different results.
Essential T-Side Smokes
Terrorists should use smokes to divide the defense.
If both CT players can watch the main entrance, a dry attack becomes a pair of unfavorable duels. A useful smoke blocks one defender and allows the attackers to pressure the other together.
Platform Smoke
Platform is one of Brewery’s strongest defensive areas.
A player above the site has an elevation advantage and can watch the main entrance, parts of the lower level and movement around the planting area.
A Platform smoke allows the Terrorists to:
- Remove the elevated sightline
- Enter through Main more safely
- Cross the exposed section of the site
- Separate the defenders
- Delay the retake from above
One attacker should watch the edge of the smoke after it blooms. The defender may jump down, push through the smoke or use a flash to regain vision.
Do not begin planting immediately if the remaining close positions have not been cleared.
Connector Smoke
Connector provides a fast route between the defenders and the bombsite.
Smoking this entrance makes it difficult for the CT players to support each other. One defender may become trapped on the site while the second is forced to wait, use utility or push through the smoke without information.
The smoke should bloom immediately before the execute. Throwing it too early warns the defenders and gives them time to change positions.
After the bomb has been planted, the same smoke can remove several seconds from the retake.
Balcony Smoke
Balcony allows the defender to watch the attack from above and change angles after every shot.
The smoke must cover the edge of the position completely. If it lands too low, a gap may remain above the smoke, allowing the CT player to continue watching the lower level.
Always inspect the lineup from the defender’s perspective. The attacking player’s view may not reveal a small gap.
Once Balcony has been isolated, the Terrorists can focus on Site, Close and Lower.
CT Spawn Smoke
A smoke blocking the CT rotation route is useful during both an execute and a post-plant.
It forces the rotating defender to:
- Wait for the smoke to disappear
- Push through without information
- Spend a flash
- Use a longer route
- Reveal their position with utility
The attackers should still control the smoke’s edge. A CT player may push through while both Terrorists are watching the bombsite.
Safe Plant Smoke
The Brewery bombsite can be watched from several elevations.
If the Terrorists control only part of the site, they can use a smoke to create temporary cover between the planter and the remaining defender.
This grenade does not always need to block a full entrance. Its purpose is to hide the plant long enough to activate the bomb.
Both players should reposition after the plant. Remaining together inside the smoke makes them vulnerable to HE grenades and Molotovs.
Useful T-Side Flashes
A single effective flash can temporarily remove half of the CT defense.
The attacking players must enter together while the effect is active. A flash that explodes without an immediate follow-up provides information but creates very little lasting advantage.
Main Pop Flash
A pop flash should appear in the defender’s field of view immediately before exploding.
Use a nearby wall or upper structure to hide the grenade during most of its flight. The first attacker enters as it explodes, while the second stays close enough to trade.
A simple communication sequence works well:
- Flash ready
- Throwing
- Turn
- Go
Poor timing can blind the entry player instead of the defenders.
High Flash for Platform and Balcony
A high flash is effective against players holding the upper metal platforms.
It should explode above the attacking players so they can continue moving while the elevated defenders are forced to turn away.
Combine this flash with a Connector smoke. The smoke prevents immediate support while the flash removes the strongest defender from the initial fight.
Tunnel Exit Flash
Tunnel is difficult to clear because the player leaving it cannot watch every close and distant position simultaneously.
A flash bounced off a nearby wall can blind the deeper angles and allow the entry player to focus on the closest corner.
Do not send the flash too far. A late explosion gives the defender time to hide and peek again after the effect ends.
Post-Plant Flash
The Terrorists do not need to spend every flash during the entry.
A saved flash can decide the post-plant. Throw it after hearing footsteps, receiving contact from a teammate or hearing the beginning of a defuse.
A late flash can:
- Enable a second peek
- Interrupt the defuse
- Force the CT player to turn
- Create a trade
- Remove the final seconds from the round
T-Side Molotovs
Molotovs remove defenders from protected corners that are difficult to clear with rifles.
Brewery contains barrels, industrial equipment, containers and stairs that provide effective close-range cover.
Lower Pit Molotov
Lower Pit is difficult to clear while also watching the upper positions.
A Molotov forces the defender to move, take damage or use a smoke to extinguish the fire. Every response gives the attacking team information.
The entry player must be prepared for an immediate swing. Defenders often choose to fight rather than remain inside the flames.
Barrels Molotov
Barrels provide cover for a CT player waiting at close range.
The fire must spread behind the objects rather than stop in front of them. Test the landing position and flame coverage in practice mode.
Do not focus only on the burning corner. The second defender may use the distraction to peek from another direction.
Back-Site Molotov
Back Site allows a defender to delay the plant and prepare a late swing.
A Molotov removes the safe position and helps the Terrorists take control of the bombsite. It becomes particularly effective when combined with a Platform or Connector smoke.
Make sure the fire does not cover the intended planting area. Poorly timed utility can delay your own execute.
Post-Plant Molotov
Saving a Molotov for the bomb can be more valuable than using it during the entry.
Throw it after hearing the defuse or when the remaining round time forces the CT side to commit.
Do not wait until the final moment. The grenade must land before the defender completes most of the defuse.
If the CT player has a smoke, the fire can be extinguished. Keep another angle on the bomb or save an HE grenade as additional insurance.
HE Grenades on Brewery
HE grenades are strongest against predictable positions.
Players frequently use the same corners on a compact Wingman map, making early damage particularly valuable. Even 30 points of damage can decide the following rifle duel.
Useful HE targets include:
- Main entrance
- Tunnel exit
- Lower Pit
- Barrels
- Default
- Connector
- Bomb plant position
- Smoke edges
A coordinated double HE can eliminate a defender before the open fight begins.
Avoid throwing grenades without information. Wasting one grenade has a greater impact when the team has only two inventories.
Essential CT Utility
The CT side should use utility to control time rather than chase immediate damage.
Defenders want to delay the attack, collect information and preserve enough grenades for the plant or retake.
Early Main Smoke
A smoke in Main can stop a fast execute and hide the defensive setup.
The delay allows the CT side to:
- Change positions
- Prepare a crossfire
- Move one player toward Platform
- Collect sound information
- Save additional utility for the late round
Do not stand directly in front of the smoke. Terrorists may spray the expected position or throw a pop flash through it.
Tunnel Smoke
Tunnel is narrow enough for one smoke to stop the entire route temporarily.
The grenade can be used at the beginning of the round against a fast attack or saved for the final part of the round. A late smoke is often stronger because the Terrorists have less time to rotate.
If the attackers repeatedly push through it, combine the smoke with an HE grenade or a teammate’s flash.
Anti-Rush Incendiary
An early incendiary blocks a narrow entrance and forces the attackers to wait or use a smoke to extinguish the fire.
The grenade does not need to deal damage to be valuable. Every second of delay gives the second defender more time to move toward the site.
Change the timing between rounds. Repeating the same throw allows the Terrorists to wait for the flames to disappear or prepare a counter-smoke.
Defensive Platform Flash
The lower defender can throw a flash for the teammate holding Platform or Balcony.
The elevated player peeks as the grenade explodes, collects information and returns to cover.
This is safer than an unsupported solo peek. Even without a kill, the CT side can identify the direction and speed of the attack.
Bomb Smoke for the Retake
During a retake, the CT side can place a smoke directly on the bomb.
One player begins the defuse while the teammate watches for the remaining Terrorist. The defuser does not always need to commit. A short tap can force the opponent to reveal their position.
Track the attackers’ remaining grenades. A Molotov or HE can still interrupt the defuse inside the smoke.
Basic T-Side Brewery Execute
A simple attacking round can follow this sequence:
- One player prepares a smoke for Platform or Connector.
- The second player watches for early aggression.
- The team uses a Molotov to clear Lower or Close.
- A pop flash explodes above the main entrance.
- The first attacker enters the site.
- The second follows closely and prepares the trade.
- The bomb is planted for a controlled post-plant position.
- Any remaining grenade is saved for the retake.
The utility should land within a short window. If too much time passes between the smoke, Molotov and flash, the defenders can adjust their positions.
Basic CT Setup on Brewery
A simple defensive setup is built around mutual support:
- One player watches the main attacking route.
- The second holds Platform, Balcony or a position near the site.
- An early incendiary delays the fastest execute.
- The first defender falls back after the Terrorists use multiple grenades.
- The CT side keeps at least one flash for a second peek.
- If the site is lost, both defenders group for the retake.
The CT side does not need to contest every part of the map. Keeping both players alive is often more valuable than trying to stop the entire attack alone.
Learn the Utility, Then Read the Round
Brewery rewards players who understand why a grenade is being thrown.
A good smoke divides the defenders. A flash creates the timing for an entry. A Molotov removes a protected position. An HE punishes predictable movement.
The same principles influence professional CS2 matches. Map pools, utility efficiency, side-specific results, player form and team coordination all affect the probability of winning a series.
Winio analyzes these factors across thousands of matches to show what the data says before the server decides the result.
Explore upcoming CS2 matches and data-driven predictions at Winio.