
Jura Grenade Callouts in CS2
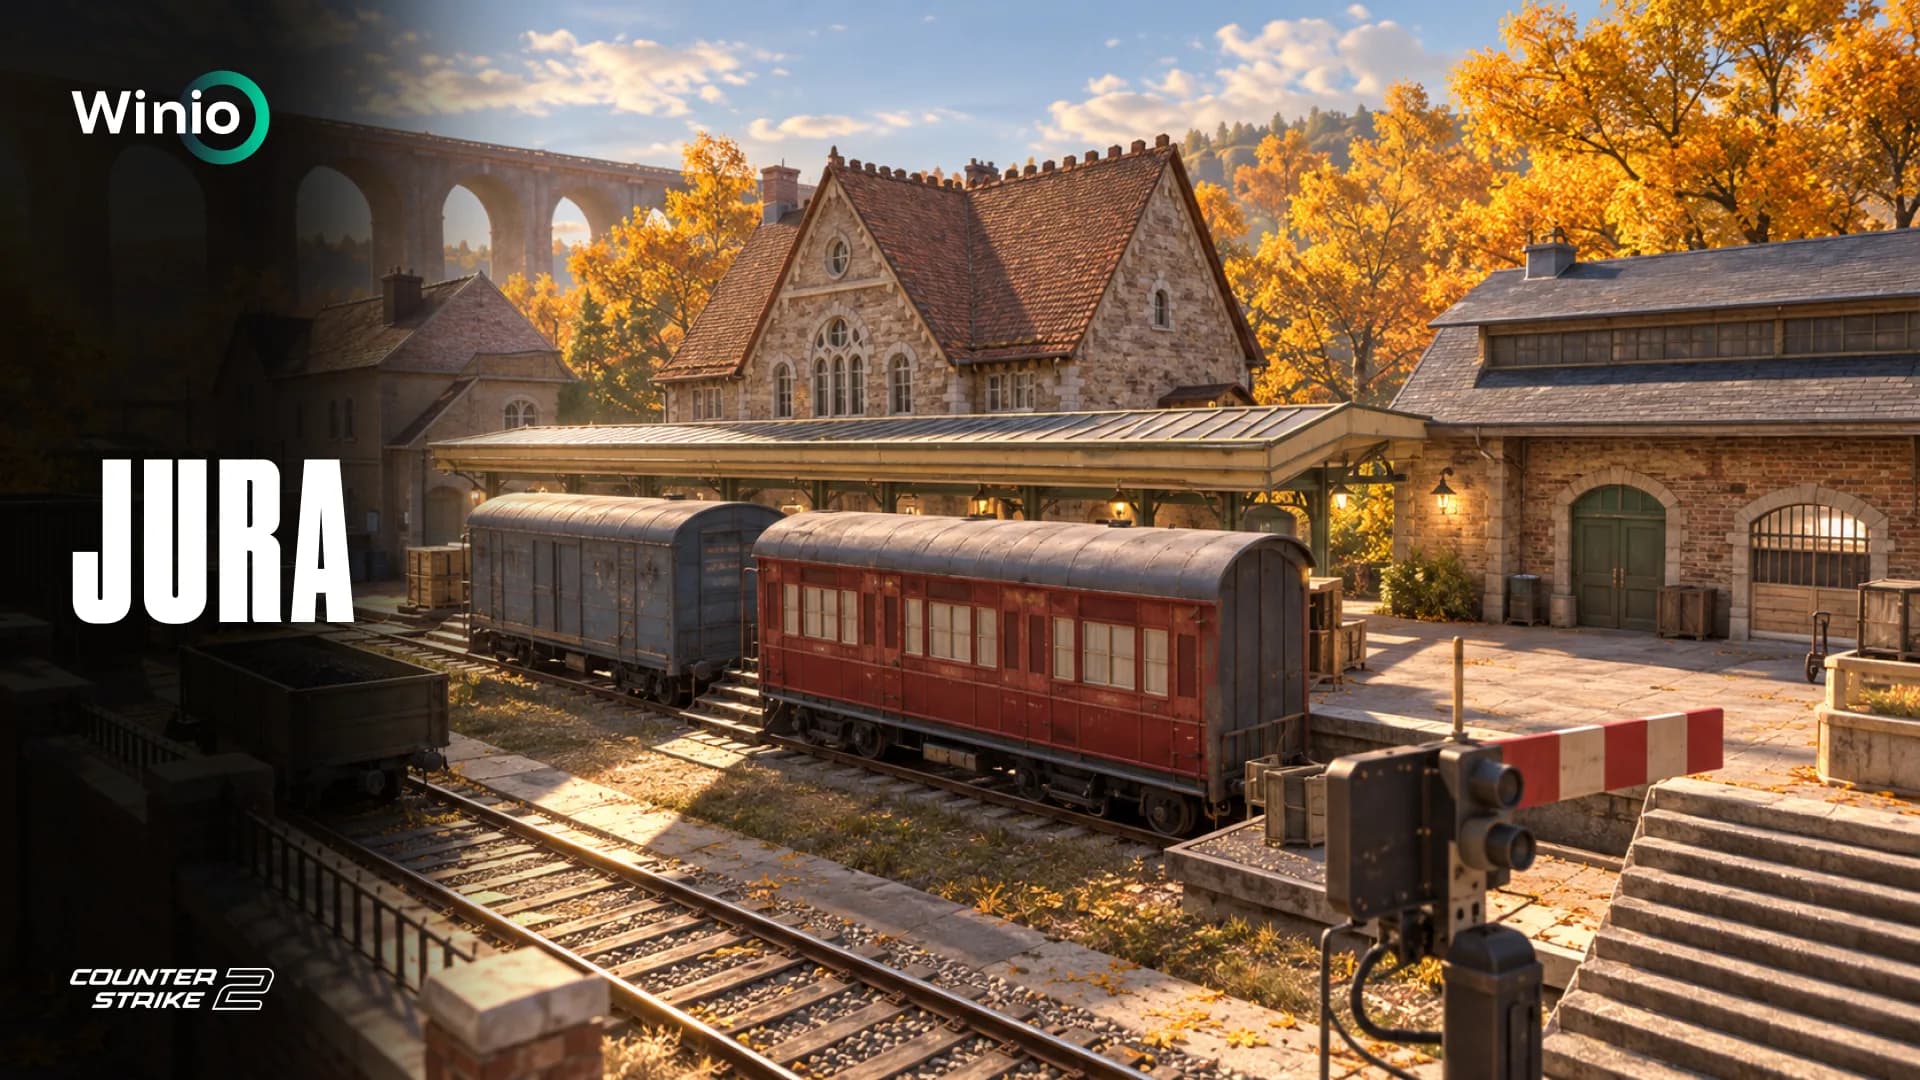
Jura looks like a peaceful tour through the ruins of a medieval castle until an AWP shot reminds you that you are still playing Counter-Strike 2.
The map combines open spaces, stone corridors, elevation changes and several long defensive sightlines. Entering either bombsite without utility can be extremely difficult. One defender can control a narrow entrance while another watches the site from a protected position.
Correctly placed smokes allow the Terrorists to remove these sightlines, isolate defenders and create safer routes into Mid, A and B.
This guide covers the essential Jura grenade lineups, including utility for map control, bombsite executes, CT setups, retakes and post-plant situations.
What Is Jura in CS2?
Jura, also known as de_jura, is a community-created bomb-defusal map.
It was designed by ProAgressiVe, vfxNev and nelson. The environment is inspired by the Kraków-Częstochowa Upland in Poland, a region known for limestone formations, natural trails and medieval castle ruins.
Who wins?
All MatchesFree Today NODWIN Clutch Series #12
Tomorrow 11:00
 SPARTABAKS
 Free for everyone · factor breakdown
Prediction: SPARTA
71%29%NODWIN Clutch Series #12
Today 11:00
 BRUTEG2 Ares

Valve added Jura to Competitive, Casual and Deathmatch modes on May 7, 2025. Grail and the updated version of Agency joined the game in the same update.
Jura was removed from all official CS2 modes on October 1, 2025, together with Grail, Dogtown and Brewery. The maps were replaced by Palacio, Golden, Rooftop and Transit.
Jura is not part of the current official matchmaking or Active Duty map pools. Players can practice it through an available community version or on community servers.
Why Utility Matters on Jura
Jura contains several narrow approaches that lead into larger open areas.
This structure generally favors prepared defenders. A CT player can hold an entrance from long range while a teammate watches the next angle. If the attackers enter one at a time without flashes, the defense receives a sequence of comfortable duels.
Utility helps teams:
- Block long defensive sightlines
- Remove AWPers from strong positions
- Separate bombsite defenders
- Take Mid without relying on dry peeks
- Delay defensive rotations
- Clear protected corners
- Create safer bomb plants
- Control retake routes
- Win time during the post-plant
Grenade databases contain dozens of community lineups for Jura. CSNADES.gg, for example, lists 20 smokes and three Molotovs for the map.
You do not need to memorize all of them. A small collection of reliable Mid and bombsite utility is enough to make structured rounds significantly easier.
Essential Jura Callouts
Jura remained in official matchmaking for less than five months, so its terminology never became as standardized as the callouts on Mirage, Inferno or Dust 2.
The same position may have several regional or community names. This guide uses simple international terms that are easy to understand during a match.
Mid Callouts
The central areas include:
- Mid
- Top Mid
- CT Mid
- Connector
- Arch
- Tower
- E-Box
- Long
- Stairs
Mid control creates additional routes toward both bombsites. It also forces the CT side to defend Connector and watch for late rotations instead of focusing entirely on A Main and B Main.
A Site Callouts
Useful A-side callouts include:
- A Site
- A Main
- A Short
- A Ramp
- Connector
- CT
- Default
- Back Site
- Close
- Boxes
- Platform
- Castle
B Site Callouts
The main B-side positions include:
- B Site
- B Main
- B Long
- B Short
- Connector
- CT
- Default
- Back Site
- Close
- Boxes
- Ramp
- Tower
Confirm the terminology with your teammates before the match. If you do not know a specific callout, describe the object and direction, such as “behind Boxes on B,” “two Connector” or “AWP deep CT.”
How to Practice Jura Grenade Lineups
Load an available version of Jura on a private server and enable the developer console.
Use the following commands:
- sv_cheats 1
- mp_warmup_end
- mp_roundtime_defuse 60
- mp_freezetime 0
- mp_buy_anywhere 1
- mp_buytime 9999
- sv_infinite_ammo 1
- ammo_grenade_limit_total 5
- sv_grenade_trajectory_prac_pipreview 1
- sv_rethrow_last_grenade
- bot_kick
The sv_rethrow_last_grenade command repeats your previous throw. You can move to the defensive position and see exactly what the smoke, flash or Molotov looks like from the opponent’s perspective.
When learning a lineup, check:
- Your exact standing position.
- The crosshair reference.
- The required throwing technique.
- Where the grenade first lands.
- Where and when it activates.
- Whether any gaps remain.
Some lineups use a standard left-click throw. Others may require a step, running throw or jump throw.
Community maps can be updated independently of the main CS2 client. Recheck your important lineups whenever the available version of Jura changes.
Essential Mid Smokes on Jura
Mid influences almost every structured round.
A team controlling the center can split either bombsite, catch defensive rotations or create pressure before returning to an outer route. Without Mid presence, the Terrorists are often limited to predictable attacks through narrow entrances.
CT Mid Smoke
A deep CT Mid smoke removes one of the main defensive sightlines across the center.
It allows the Terrorists to:
- Move out of Top Mid
- Approach Connector
- Remove a distant AWPer
- Prepare a split toward either site
- Force the CT side to spend additional utility
- Hide the number of players taking Mid
The smoke should completely block the passage. If it lands too close to the Terrorists, a defender may use it as cover for an aggressive push.
Mid Smoke From E-Box
The E-Box lineup allows the Terrorists to block the central angle without exposing a player to an early peek.
It is useful during a default. While the smoke travels, the other players can establish control near A Main, B Main or the entrances leading toward Connector.
This smoke does not always need to begin a committed Mid take. Throwing it as part of a default forces the defense to respect the possibility of a split.
Mid Smoke From Tower
The Tower lineup provides an alternative route for the same general smoke.
It can be useful when the team begins the round in a different setup or cannot safely reach E-Box. Multiple throwing positions also make the utility harder to read. The CT side sees the same smoke but does not know where the Terrorists are grouped.
Connector Smoke
Connector allows defenders to rotate between Mid and other sections of the map.
Smoking it can:
- Isolate the Mid defender
- Block support for a bombsite
- Allow the Terrorists to take deeper space
- Prepare a split execute
- Protect a player watching rotations
- Hide a late change of direction
The smoke blocks vision, but it does not remove the defender. A CT player may stand inside it or push through with a flash.
Arch Smoke
Arch is a natural chokepoint and a strong position for a rifle or AWP.
The smoke allows the attackers to approach without taking an immediate long-range duel. Combine it with a flash to prevent a defender from holding close to the edge.
Flashes for Mid Control
Smokes remove distant sightlines, but they do not clear close corners.
A coordinated Mid take should include flashes for:
- CT Mid
- Connector
- Arch
- Positions near E-Box
- Aggressive defenders in Top Mid
- Long AWP angles
The entry player should communicate before peeking. A flash thrown too early gives the opponent time to recover, while a late flash may blind the teammate taking the duel.
HE Grenades for Mid
HE grenades are useful when the CT side repeatedly uses the same opening setup.
Common targets include:
- Cover in CT Mid
- The Connector exit
- Close corners near E-Box
- The edge of Arch
- AWP positions waiting for the smoke to fade
An HE grenade does not need to secure the kill. Dealing 30 or 40 damage can be enough to turn the following rifle fight in your favor.
Jura A Site Grenade Lineups
A Site contains several positions that can support one another.
The objective of an execute is not to hide the entire bombsite behind smoke. The utility should divide the defense so the attackers can clear one section at a time.
A CT Smoke
This is one of the most important grenades for a complete A execute.
It blocks the main rotation route and temporarily separates the site defenders from the rest of the CT team.
Continue watching the smoke after the bomb is planted. A defender may push through with a flash or attempt to catch the attackers while they are moving into post-plant positions.
A Connector Smoke
Connector allows the defense to support A from Mid.
Smoking it limits this support and isolates the players already inside the bombsite. The grenade becomes particularly effective after the Terrorists have shown Mid pressure.
The CT side cannot immediately tell whether the smoke represents a full split, a fake or a single lurker.
Back Site Smoke
A deep Back Site smoke removes a defender playing behind the main plant area.
The Terrorists can clear the front of A, establish control and prepare for the opponent to emerge from the smoke later.
Avoid shallow placement. A smoke that lands too far forward may give the defender space to peek from either side.
Smoke for a Safe Plant
If the attackers do not control the entire bombsite, they can place a smoke near the planting position.
This can help during:
- Late-round executes
- Clutches
- Low-player situations
- Rounds with a distant CT AWPer
- Executes with incomplete information
Planting inside smoke is still dangerous. The defender can spray through it or throw an HE grenade at the expected plant position.
Close Molotov
The close corner near the site entrance should be cleared during every execute.
A Molotov forces the defender into the open, where the entry player can take the duel with a prepared crosshair.
If the fire does not cover the complete position, add an HE grenade or clear it with a coordinated double peek.
Boxes Molotov
The boxes inside A provide cover against the initial flashes.
A defender can wait for the first wave of utility and peek while the bomb is being planted. A Molotov forces that player to move and reveals the direction of their escape.
Back Site Molotov
Use a Molotov instead of a smoke when you want to force the defender away rather than temporarily isolate them.
This is stronger during a fast execute because the opponent cannot wait safely inside the position. The attackers must still enter quickly before the fire expires.
A Site Flashes
Useful A flashes should detonate high above the site or behind the entry players.
They can blind defenders at:
- Default
- Platform
- Back Site
- Boxes
- CT
- Connector
The entry player should turn away before the explosion and begin moving immediately after it.
HE Grenade for Default
Default is a common position during the initial defense, bomb plant and defuse.
An HE grenade can damage a player hiding behind cover, interrupt the plant or punish a defender attempting to defuse. In a post-plant, saving the grenade for the bomb can be more valuable than using it during the execute.
Standard A Execute
A basic A execute can include:
- CT smoke
- Connector smoke
- Back Site smoke or Molotov
- Close or Boxes Molotov
- Two flashes above A
- HE grenade for Default
The utility should arrive within a short window.
The first player clears the closest positions. The second follows closely enough to trade. Another player watches Platform, Back Site and the remaining long angles. The bomb carrier enters only after the team controls a safe planting area.
Jura B Site Grenade Lineups
B also needs to be cleared in stages.
A direct attack without utility can expose the Terrorists to a distant defender, a player behind Boxes and another CT arriving through the rotation route.
B CT Smoke
The main CT smoke blocks the fastest defensive route into B.
It gives the attackers time to:
- Enter the bombsite
- Find the anchor player
- Plant the bomb
- Establish post-plant positions
- Prepare for the retake
A deeper smoke usually provides more space because the rotating players must travel farther before reaching the site.
B Connector Smoke
B Connector provides another route for defensive support.
Smoking it becomes particularly effective when the Terrorists already control Mid. The B anchor may be separated from the rest of the team, while the rotating defenders must wait or push through smoke without information.
The grenade can also support a fake. The CT side may interpret the blocked Connector as the beginning of a full B split.
Long-Angle Smoke
One of the first objectives of a B execute is to remove the distant AWP angle.
The smoke should activate before the entry player crosses the exposed section. Follow it with a flash against any defender who may have moved closer to its edge.
Back Site Smoke
A Back Site smoke divides the defense into smaller groups.
The attackers can clear the close positions first, then prepare for the defender to emerge from the smoke.
Do not begin planting before confirming that a CT player cannot push through unnoticed.
Boxes Molotov
A defender behind Boxes can avoid the initial flash and surprise players entering the site.
The Molotov forces them to leave the position. The entry player should already be holding the most likely escape route.
Close Molotov
A close Molotov is useful against aggressive defensive setups.
It prevents a CT player with a shotgun, SMG or rifle from holding the entrance at short range. The grenade should cover the position before the first Terrorist commits to the site.
Back Site Molotov
A deep Molotov forces the distant defender to move.
Throw it shortly before the execute. If the fire expires too early, the opponent can simply return before the attackers reach the bombsite.
B Site Flashes
Good B flashes should explode above the bombsite or behind the entry players.
They can blind defenders at:
- The distant angle
- Boxes
- Default
- Back Site
- CT
- Connector
Low flashes thrown directly through the entrance are easier to see and more likely to blind teammates.
HE Grenades for Default and Boxes
HE grenades can punish defenders who repeatedly use the standard site cover.
Combining an HE with a Molotov is especially effective. The HE deals immediate damage, while the fire limits the defender’s escape route.
Standard B Execute
A basic B execute can use:
- CT smoke
- B Connector smoke
- Long-angle smoke
- Boxes Molotov
- Back Site Molotov
- Two flashes above B
One player can remain in Mid to watch the rotation. The rest of the team should enter as soon as the smokes activate.
Waiting too long allows the defense to rotate, reposition and prepare counter-utility. It may also cause the first smokes to disappear before the bomb is planted.
CT-Side Utility on Jura
Defensive utility should collect information as well as delay attacks.
If the Terrorists immediately extinguish a Molotov or respond with several flashes, the CT side can assume that multiple opponents may be preparing to take that area.
Early Mid Incendiary
An early incendiary can stop a fast Mid take and give the defense time to establish its setup.
It can:
- Delay the Terrorists
- Deal early damage
- Force the attackers to use a smoke
- Reveal a possible Mid-focused round
- Prepare an HE combination
Do not continue staring at the extinguishing smoke without support. The Terrorists may push through behind a flash.
Top Mid Smoke
A defensive Top Mid smoke limits early Terrorist vision.
It can help the CT side:
- Take a close position
- Move an additional defender
- Delay a Mid split
- Hide a rotation
- Prepare a pop flash
- Fall back from an aggressive setup
Change the timing between rounds. Repeating the same smoke allows the attacking team to prepare a counter.
A Main Incendiary
An early incendiary delays a fast A attack.
If the Terrorists wait, the A defenders gain time to prepare. If they extinguish the fire, the CT side must be ready for an immediate execute through the smoke.
B Main Incendiary
The B Main incendiary serves the same purpose.
It delays the first contact and can force the attackers to spend a smoke before reaching the bombsite. The defenders can follow it with an HE grenade aimed at the area where the Terrorists are waiting.
Defensive Pop Flashes
The most effective CT flashes are thrown by one defender for another.
Useful targets include:
- Top Mid
- A Main
- A Ramp
- B Main
- B Long
- Connector exits
The player taking the duel should call the timing. Random flashes may blind teammates without creating an advantageous peek.
Late Entrance Smoke
A late smoke is often more valuable than an automatic grenade thrown during the opening seconds.
If the Terrorists have 20 seconds remaining, another smoke at the entrance forces them to:
- Wait and lose time
- Push through without information
- Spend their remaining utility
- Change the final destination
- Skip several defensive positions during the clear
Retake Utility
A coordinated retake can include:
- Smoke on the bomb
- Smoke for a post-plant position
- Back Site Molotov
- HE grenade for Default
- Two sequential flashes
- Smoke isolating a long-range angle
Do not throw both flashes at the same time. The first should help the CTs take initial space, while the second supports the final move toward the bomb.
Master the Utility, Then Read the Round
Grenade lineups transform Jura from a map with dangerous narrow entrances into an environment that supports structured team play.
Smokes create safe routes through Mid and separate the defenders. Molotovs remove players from protected corners. Flashes allow the entry player to begin each duel with an advantage.
The greater skill is knowing when to use each grenade.
A Mid smoke can begin a real split or hide a rotation. A complete A utility set can start an execute or pull defenders away from B. The meaning of every grenade depends on the score, economy, previous rounds and the opponent’s habits.
The same factors influence professional Counter-Strike. Team form, map pools, side-specific results, player roles and utility efficiency all affect how a match may develop.
Winio analyzes these variables across thousands of matches to show what the data says before the server decides the result.
Explore upcoming CS2 matches and data-driven predictions at Winio.