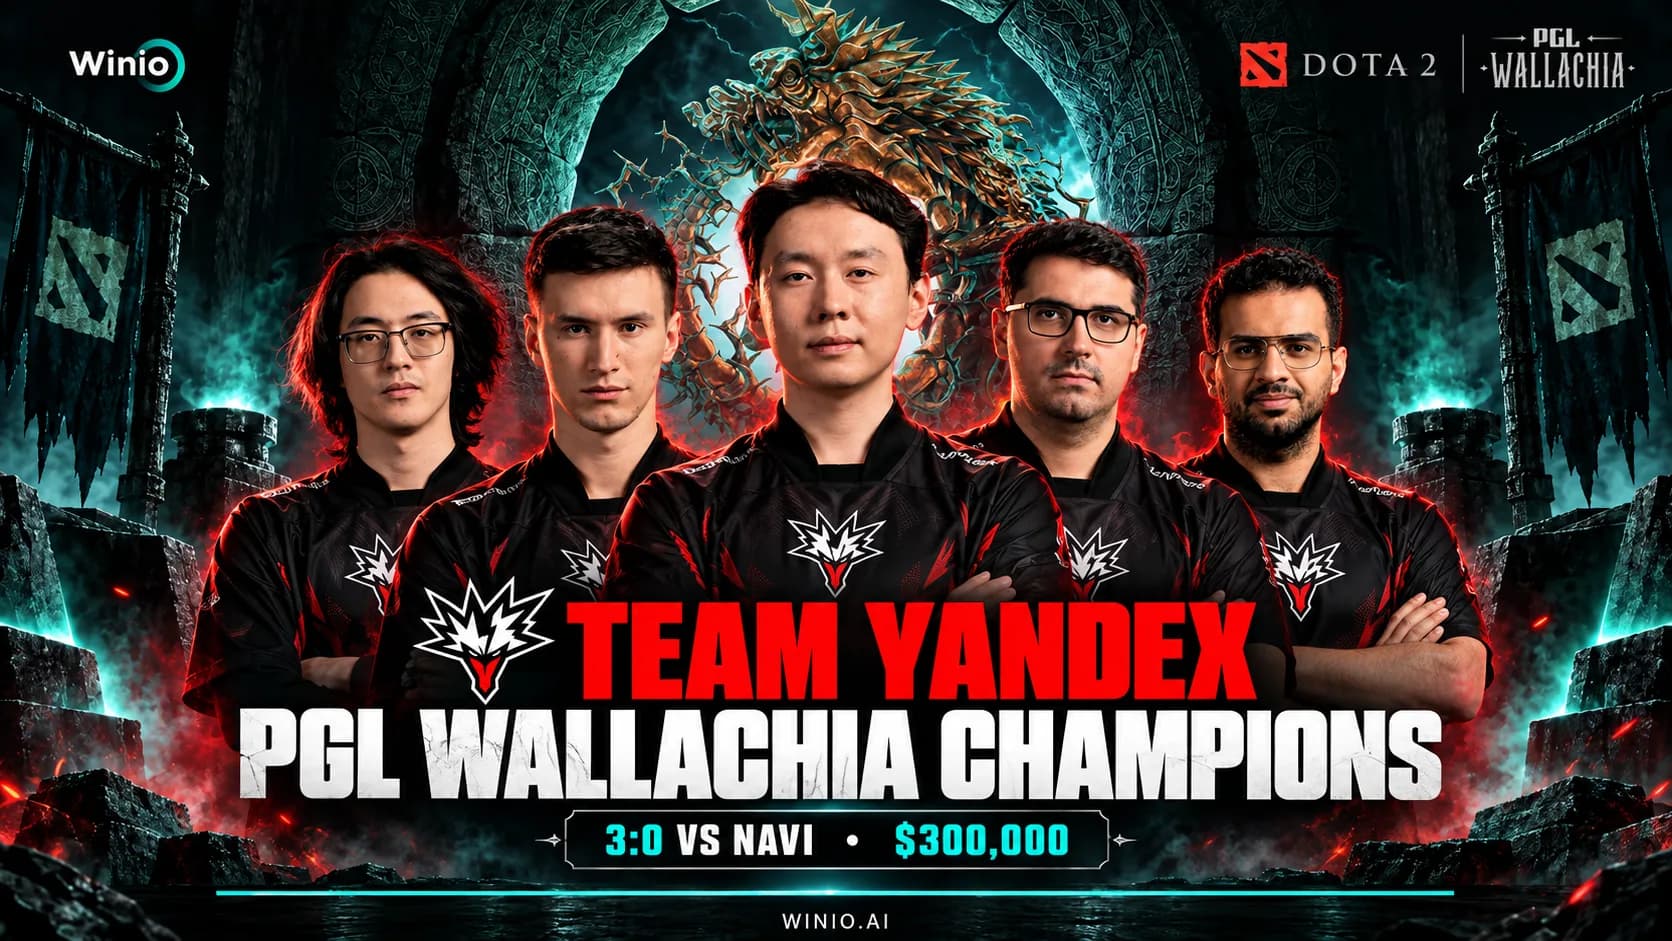
PGL Wallachia Season 9 Results: Team Yandex Win, NAVI Surprise
Team Yandex swept NAVI 3:0 to win PGL Wallachia Season 9. We analyze the champions, NAVI’s final run, surprises and disappointments.
September 28, 202607:28 AM8 min

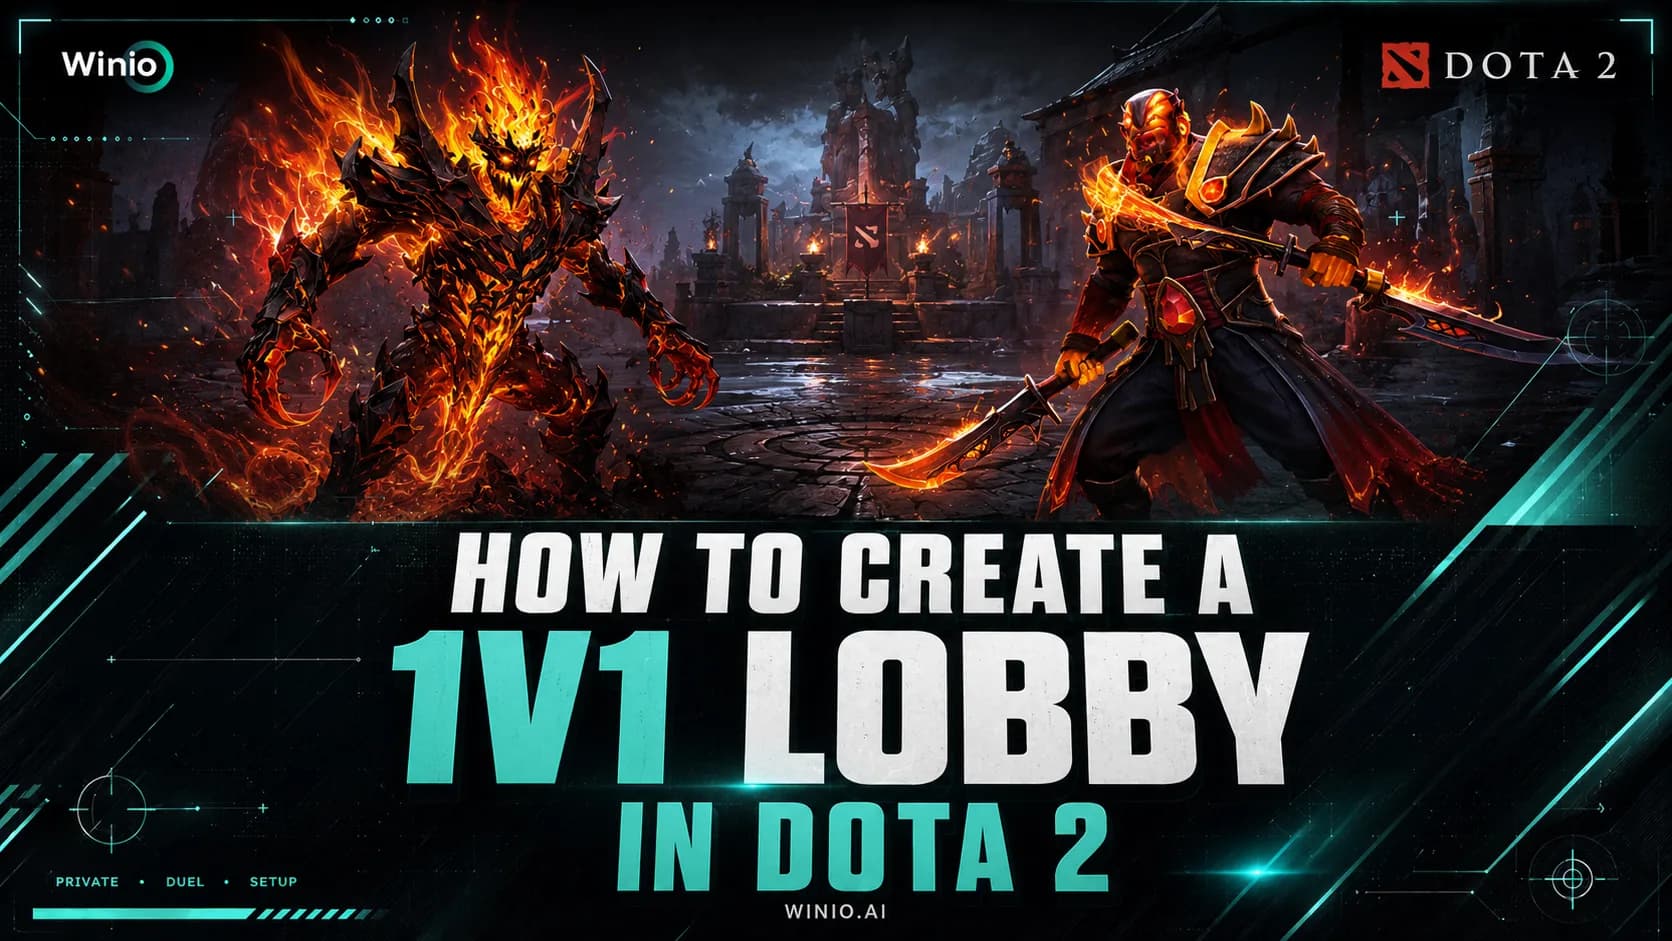
A 1v1 lobby in Dota 2 lets you duel a friend, practice the mid lane or test a specific hero matchup. You do not need a Workshop map or third-party software: create a private lobby, select 1v1 Solo Mid and join opposite teams. This guide explains which settings to use for a fair match and how to enable Dota 2’s built-in cheat commands for practice.
For a standard duel without additional rules, follow these steps:
The 1v1 Solo Mid mode allows both players to select the same hero. This is useful when you want to compare execution on Shadow Fiend, Puck, Queen of Pain or another midlaner without a matchup advantage.
Menu labels and locations may change slightly after client updates, but the usual path remains Play Dota > Custom Lobby > Create Lobby.
BLAST SLAM VIII
Tomorrow 13:00
 BetBoom TeamOG
Prediction: BetBoom Team
BLAST SLAM VIII
Today 13:00
 PARIVISIONLevel Up
Before starting the match, open the lobby settings and check the following options.
| Setting | Recommended value | Why it matters |
|---|---|---|
| Game Mode | 1v1 Solo Mid | Limits the match to a mid-lane duel and allows both players to choose the same hero |
| Lobby Visibility | Private or password-protected | Prevents random players from taking a slot |
| Lobby Password | Any password | Makes it easier for the intended opponent to join |
| Server Location | Nearest shared region | Reduces the ping difference between players |
| Enable Cheats | Off | Required for a fair duel |
| Fill Empty Slots With Bots | Off | Keeps the match limited to two players |
| Spectators | As agreed | Allow spectators or keep the lobby closed |
Do not choose a server based only on the lobby host’s ping. If the players are in different countries, use a region where the latency is reasonable for both.
The standard 1v1 Solo Mid mode is designed as a short test of laning skill. A player wins by being the first to complete either of these conditions:
You can agree on different rules for a custom series, for example, first blood, a best-of-three set or tower destruction only. The important part is to establish the win condition before the lobby starts.
A common ruleset for a practice 1v1 is:
If 1v1 Solo Mid is temporarily unavailable or you need custom rules, select All Pick. The game will not automatically enforce the duel in this mode, so both players must follow the agreed lane boundaries, rune rules and win condition.
In Dota 2, the word “cheats” can refer to Valve’s built-in practice commands as well as prohibited third-party software. The built-in commands let you add gold and items, increase hero levels, remove cooldowns or spawn creeps instantly.
To enable built-in practice commands:
Enable Cheats must be turned on before the match begins. If commands do not work, return to the lobby, check the setting and start a new game.
Built-in practice commands work only in compatible custom lobbies. They provide no advantage in ranked or unranked matchmaking and are unrelated to third-party software that violates the game’s rules.
Enter the commands below in the in-game chat. Every command must begin with a hyphen.
| Command | What it does | Example |
|---|---|---|
| -startgame | Ends the pre-game countdown and starts the match | -startgame |
| -gold <amount> | Adds the specified amount of gold | -gold 5000 |
| -lvlup <amount> | Adds the specified number of hero levels, up to the level cap | -lvlup 10 |
| -item <item ID> | Adds an item by its internal name | -item item_blink |
| -refresh | Restores health and mana and refreshes abilities and items | -refresh |
| -respawn | Immediately respawns the dead hero at the fountain | -respawn |
| -wtf | Removes mana costs and cooldowns for abilities and items | -wtf |
| -unwtf | Disables WTF mode | -unwtf |
| -allvision | Reveals the map to both teams | -allvision |
| -normalvision | Restores normal fog of war | -normalvision |
| -disablecreepspawn | Stops regular creep waves from spawning | -disablecreepspawn |
| -enablecreepspawn | Restores regular creep wave spawning | -enablecreepspawn |
| -spawncreeps | Immediately spawns a new creep wave | -spawncreeps |
| -killcreeps | Kills the creeps currently on the map | -killcreeps |
| -spawnneutrals | Spawns neutral creeps in available camps | -spawnneutrals |
| -spawnrune | Spawns a rune | -spawnrune |
| -killwards | Destroys placed wards | -killwards |
| -trees | Restores destroyed trees | -trees |
For most 1v1 practice sessions, five commands are enough: -startgame, -gold, -lvlup, -item and -refresh.
After -item, use the item’s internal ID rather than its display name. The ID is written in Latin characters and usually begins with item_.
Examples:
If the item does not appear, check its internal name. Some IDs differ from the item’s full English display name.
The -createhero command spawns the selected hero. It also requires the character’s internal name:
-createhero npc_dota_hero_axe
Add enemy to create the hero for the opposing team:
-createhero npc_dota_hero_axe enemy
Examples of internal hero names:
This command is useful for testing damage, spell range and item interactions, but it is usually unnecessary for a standard duel with a friend.
No. You can create a 1v1 and use the main practice commands through the game menus and chat. The console is only necessary for more advanced tests, developer commands or custom binds.
To enable it, open Dota 2’s advanced settings and assign a key to Console in the advanced hotkey options. Alternatively, add -console to Dota 2’s launch options in Steam.
Officially documented developer commands include:
These commands also require an environment where cheats are allowed. Their chat equivalents are usually more convenient for ordinary practice.
For a classic 1v1, create a private lobby, select 1v1 Solo Mid, set a password and join opposite teams. Keep cheats disabled when you want a fair test of laning skill. To test levels, builds or spell mechanics, turn on Enable Cheats and use -gold, -lvlup, -item, -refresh and -wtf.
A duel can help you understand a specific matchup, but it does not represent the full strength of a professional Dota 2 team. Drafts, coordination, roster form and the current meta also shape competitive results.
Win probabilities and tournament analysis for professional Dota 2 matches are available on Winio.

PARIVISION
Level Up

Team Spirit

Team Nemesis
Prediction: Team Spirit wins

LGD Gaming

Xtreme Gaming
Prediction: Xtreme Gaming wins

1w Team

Natus Vincere
Prediction: Natus Vincere wins

Team Liquid

Yakult Brothers

Aurora Gaming

GamerLegion
Prediction: Aurora Gaming wins
Team Liquid
Yakult Brothers
Prediction: Team Liquid wins

Team Yandex
MOUZ
PARIVISION
Level Up
Team Spirit
Team Nemesis
Prediction: Team Spirit wins
LGD Gaming
Xtreme Gaming
Prediction: Xtreme Gaming wins
1w Team
Natus Vincere
Prediction: Natus Vincere wins
Team Liquid
Yakult Brothers
Aurora Gaming
GamerLegion
Prediction: Aurora Gaming wins
Team Liquid
Yakult Brothers
Prediction: Team Liquid wins
Team Yandex
MOUZ
PARIVISION
Level Up
Team Spirit
Team Nemesis
Prediction: Team Spirit wins
LGD Gaming
Xtreme Gaming
Prediction: Xtreme Gaming wins
1w Team
Natus Vincere
Prediction: Natus Vincere wins
Team Liquid
Yakult Brothers
Aurora Gaming
GamerLegion
Prediction: Aurora Gaming wins
Team Liquid
Yakult Brothers
Prediction: Team Liquid wins
Team Yandex
MOUZ