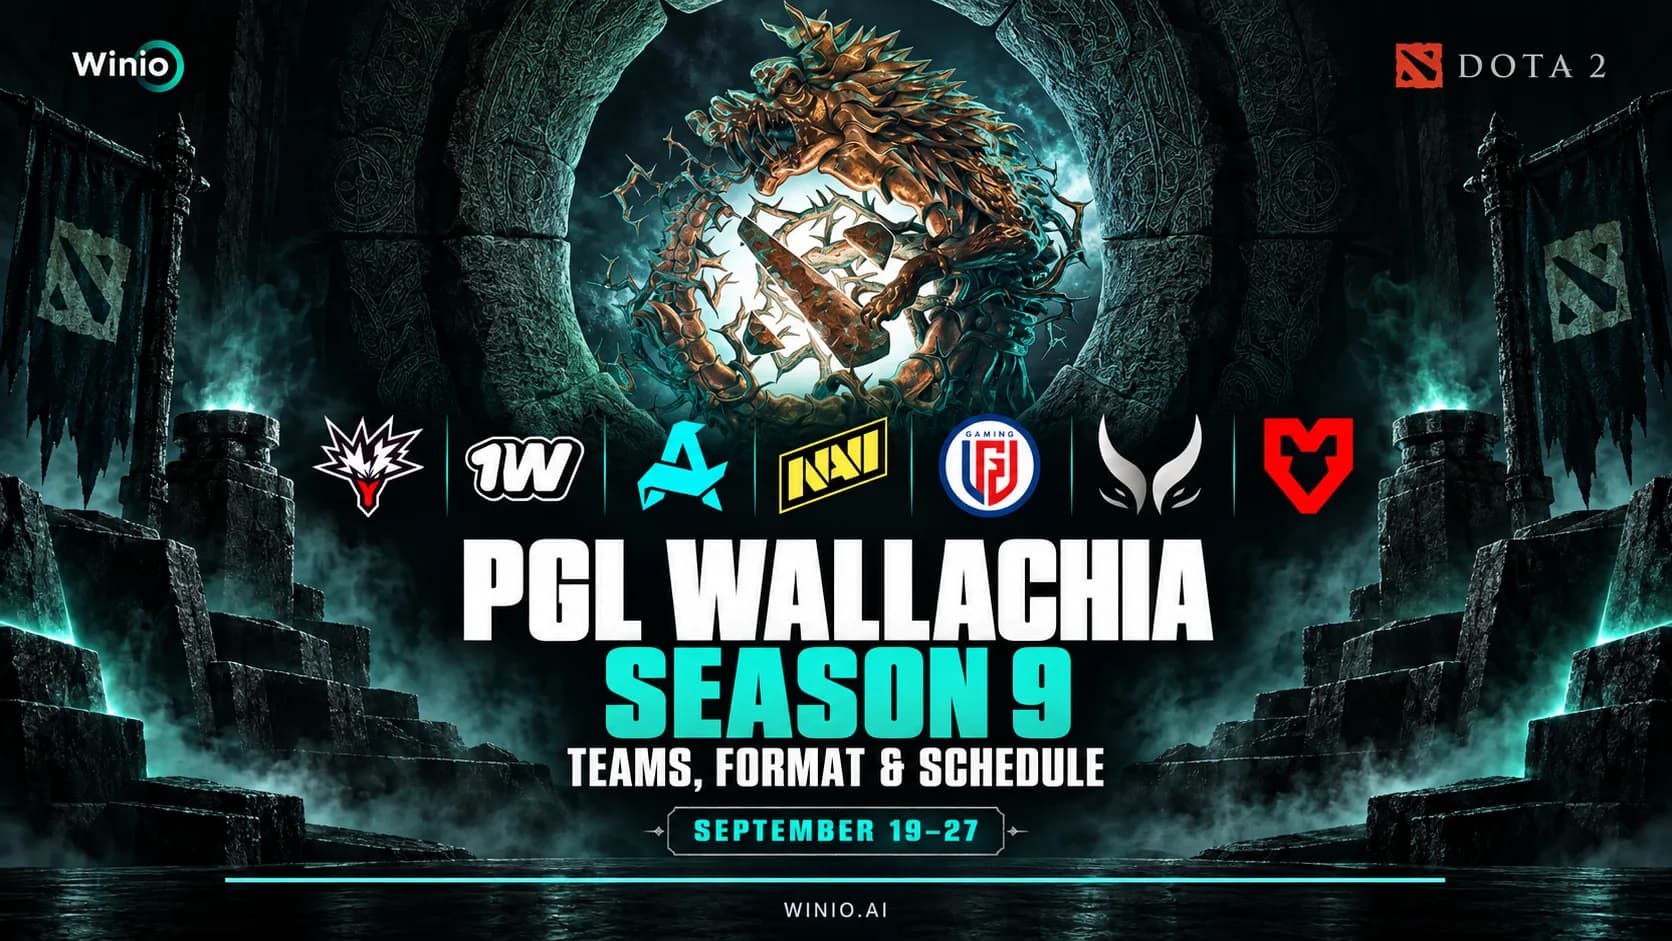
PGL Wallachia Season 9 preview: teams, format and schedule
PGL Wallachia Season 9 runs from September 19 to 27 with 16 Dota 2 teams and a $1 million prize pool. Full team list, format and opening schedule.
September 18, 202609:52 AM10 min

Fantasy in the TI 2026 Compendium only awards points for the stats shown on your emblems. That means a Tier V emblem with a weak stat can score less than a Tier III emblem that fits the player and role. The biggest mistake is chasing quality tiers and traits before checking what the banner actually tracks.
The roster still contains five players, but it is now built around three banners rather than five separate cards.
| Banner | Players | Group Stage | Playoffs |
|---|---|---|---|
| Core | Carry + offlaner from the same team | Red - Green - Red | Red - Green - Red - Green - Red |
| Mid | One midlaner | Red - Blue - Green | Red - Blue - Green - Red - Green |
| Support | Soft + hard support from the same team | Blue - Green - Blue | Blue - Green - Blue - Green - Blue |
Two more emblems are added to every banner for the Playoffs, while the first three carry over from the Group Stage.
1. Reroll tokens: 40 for the Group Stage and a separate pool of 30 for the next stage.
2. Player swaps: free until the roster locks. Changing players does not reset the banner or refund spent tokens.
3. Scoring: only the role’s best series of the stage counts, and only the two highest-scoring games from that series are included.
This format increases the value of high-ceiling stats, because one exceptional series can decide the result. For the more realistic goal of finishing in a reward percentile, however, reliable metrics are usually safer than rare events.
PGL Wallachia Season 9
Tomorrow 10:00
 Xtreme GamingTeam Nemesis
Prediction: Xtreme Gaming
European Pro League 40
Today 21:00
 KalmychataTeam Lynx
Use this table as a practical Group Stage baseline before adapting the banner to a specific team or player pair.
| Pos. | Role | Main Priority | Good Alternative | Usually Weaker |
|---|---|---|---|---|
| 1 | Carry | Creeps, GPM | Deaths; Kills or Tower Kills for upside | Madstones |
| 2 | Mid | Runes, Teamfight | Creeps, GPM, Deaths | Smokes, Wards, First Blood |
| 3 | Offlane | Teamfight | Tormentor, Stuns | First Blood; Courier Kills without supporting data |
| 4 | Soft Support | Smokes, Camps, Teamfight | Watchers, Stuns, Tormentor | Runes |
| 5 | Hard Support | Wards, Smokes, Teamfight | Camps, Lotuses, Watchers | Runes, Roshan |
For the carry + offlaner pairing, build the red slots around Creeps and GPM. Carries naturally generate both stats, while an active offlaner adds a useful second contribution. Deaths is a stable alternative for a team that rarely gets completely rolled. Kills and Tower Kills have more variance: they can explode in a great game, but their average output is less dependable.
The green slot is where the offlaner matters most. Teamfight Participation is the safest choice because both players in the duo produce it regularly. Tormentor is a solid fallback. Roshan offers a higher ceiling and can work for a leaderboard push, but it depends heavily on which player receives credit for the final action on the objective.
Stable Core build: Creeps - Teamfight - GPM. If you already rolled a high-tier Roshan emblem and the selected team takes Roshan frequently, do not automatically break the banner just to chase the textbook average.
The Mid banner has one near-mandatory target: Runes on the blue emblem. Midlaners collect runes throughout almost every game, so this metric comfortably outperforms most other blue options. Camps or Lotuses can be temporary placeholders when tokens are scarce, but Wards and especially Smokes should usually be rerolled.
Stable Mid build: Creeps/GPM - Runes - Teamfight. If a high-tier Runes emblem is already in the middle, do not weaken it just to create a prettier trait combination.
The strongest Support banner reflects the division of duties within the duo. The hard support usually scores through Wards, while the soft support contributes more through Smokes, Camps and active map play. This is why two identical blue stats are not always necessary: Wards + Smokes or Wards + Camps is often more reliable.
Stable Support build: Wards- Teamfight - Smokes/Camps. If the duo plays differently, Watchers or Lotuses can replace the second blue stat, but the decision should be based on the selected team’s actual data.
Traits amplify the stats you have already selected, so they should be optimized after stats and quality tiers. Every trait has a condition, and its value depends on the emblem’s position inside the banner.
| Trait | Effect | Best Use | Main Risk |
|---|---|---|---|
| Vampiric | +50% to itself; −10% to adjacent emblems | Top or bottom slot; sometimes center for the key stat | In the middle, it weakens both neighbors |
| Benevolent | +20% to adjacent emblems | Middle slot to boost both outer emblems | On an edge, it boosts only one neighbor |
| Friendly | +50% to itself if the banner has 3+ Friendly traits | A complete set of three | One or two Friendly traits give no bonus |
| Unique | +30% to itself if no other Unique is on the banner | One reliable standalone trait | A second Unique disables the condition |
| Fractal | +60% to itself if all three quality tiers are different | Uneven tiers such as V–IV–III | No bonus when any tier repeats |
There is no universal best layout. If the most valuable stat sits in the middle, Runes for Mid or Teamfight for Support, for example, a central Vampiric can outperform the standard setup. Optimize the points, not the trait name.
Quality tiers provide fixed bonuses: Tier I +10%, Tier II +30%, Tier III +60%, Tier IV +100% and Tier V +150%. The gap between Tier III and Tier V is large only when the emblem tracks a useful stat. A Tier V Smokes emblem on a midlaner is still worse than a lower-tier Runes emblem.
There is no strong Fantasy card outside the context of its banner. First choose stats the players actually generate, then improve those emblems with quality tiers and traits. That order reduces the damage from bad rerolls and gives you a better chance of finishing in a high percentile.
Finished your Fantasy roster? Now evaluate the teams behind your picks. Check Winio’s AI-powered predictions for The International 2026 on Winio.

Kalmychata
Team Lynx
Xtreme Gaming
Team Nemesis
Prediction: Xtreme Gaming wins

Natus Vincere
LGD Gaming

Aurora Gaming

GamerLegion

Team Yandex

1w Team
Kalmychata
Team Lynx
Xtreme Gaming
Team Nemesis
Prediction: Xtreme Gaming wins
Natus Vincere
LGD Gaming
Aurora Gaming
GamerLegion
Team Yandex
1w Team
Kalmychata
Team Lynx
Xtreme Gaming
Team Nemesis
Prediction: Xtreme Gaming wins
Natus Vincere
LGD Gaming
Aurora Gaming
GamerLegion
Team Yandex
1w Team